Bare Bones Basics
A BONE CLEANING GUIDE, TUTORIAL AND RITUALISTIC PERSPECTIVE OF GRATITUDE
Whether you're a forest forager, curious collector, or crafting witch, this hands-on tutorial will guide you through the respectful and practical process of cleaning found bones. We'll cover everything from initial discovery to final whitening—how to safely remove debris, degrease, and preserve your skeletal treasures for altar work, art, or study. Perfect for beginners and bone-curious goblins alike, this guide keeps things ethical, approachable, and just a little bit macabre. Bring gloves, curiosity, and a strong stomach—we’re getting down to the bare bones.
About the Bone Collector and Collecting
-

Why bone art? An unpopular POV:
A priestess once offered me a reading so profound that it altered the landscape of my consciousness—opening a door that has never, and will never, close. As we sat across from one another, she paused and spoke of a presence she saw encircling me: an assembly, a legion, of spirits—the animals whose bones I work with—gathered like an ancient, watchful army.
It was she who first told me that fire was their language. That flame, in its hunger and holiness, would be the purest offering I could make. A tribute to the kinship I’ve always felt with them—Through fire, she said, they are not only remembered—they are revered.
To me, death is not an end—it’s a threshold. Bones are what remain when all else has fallen away, stripped of softness and story, yet still speaking in their silence. There’s a raw, solemn beauty in that. As an artist, I gather these remnants not out of morbidity, but reverence. I use them not to tame death, but to sit with it, to listen, to desensitize the fear that human's hold so close in regards to the next step of "life".
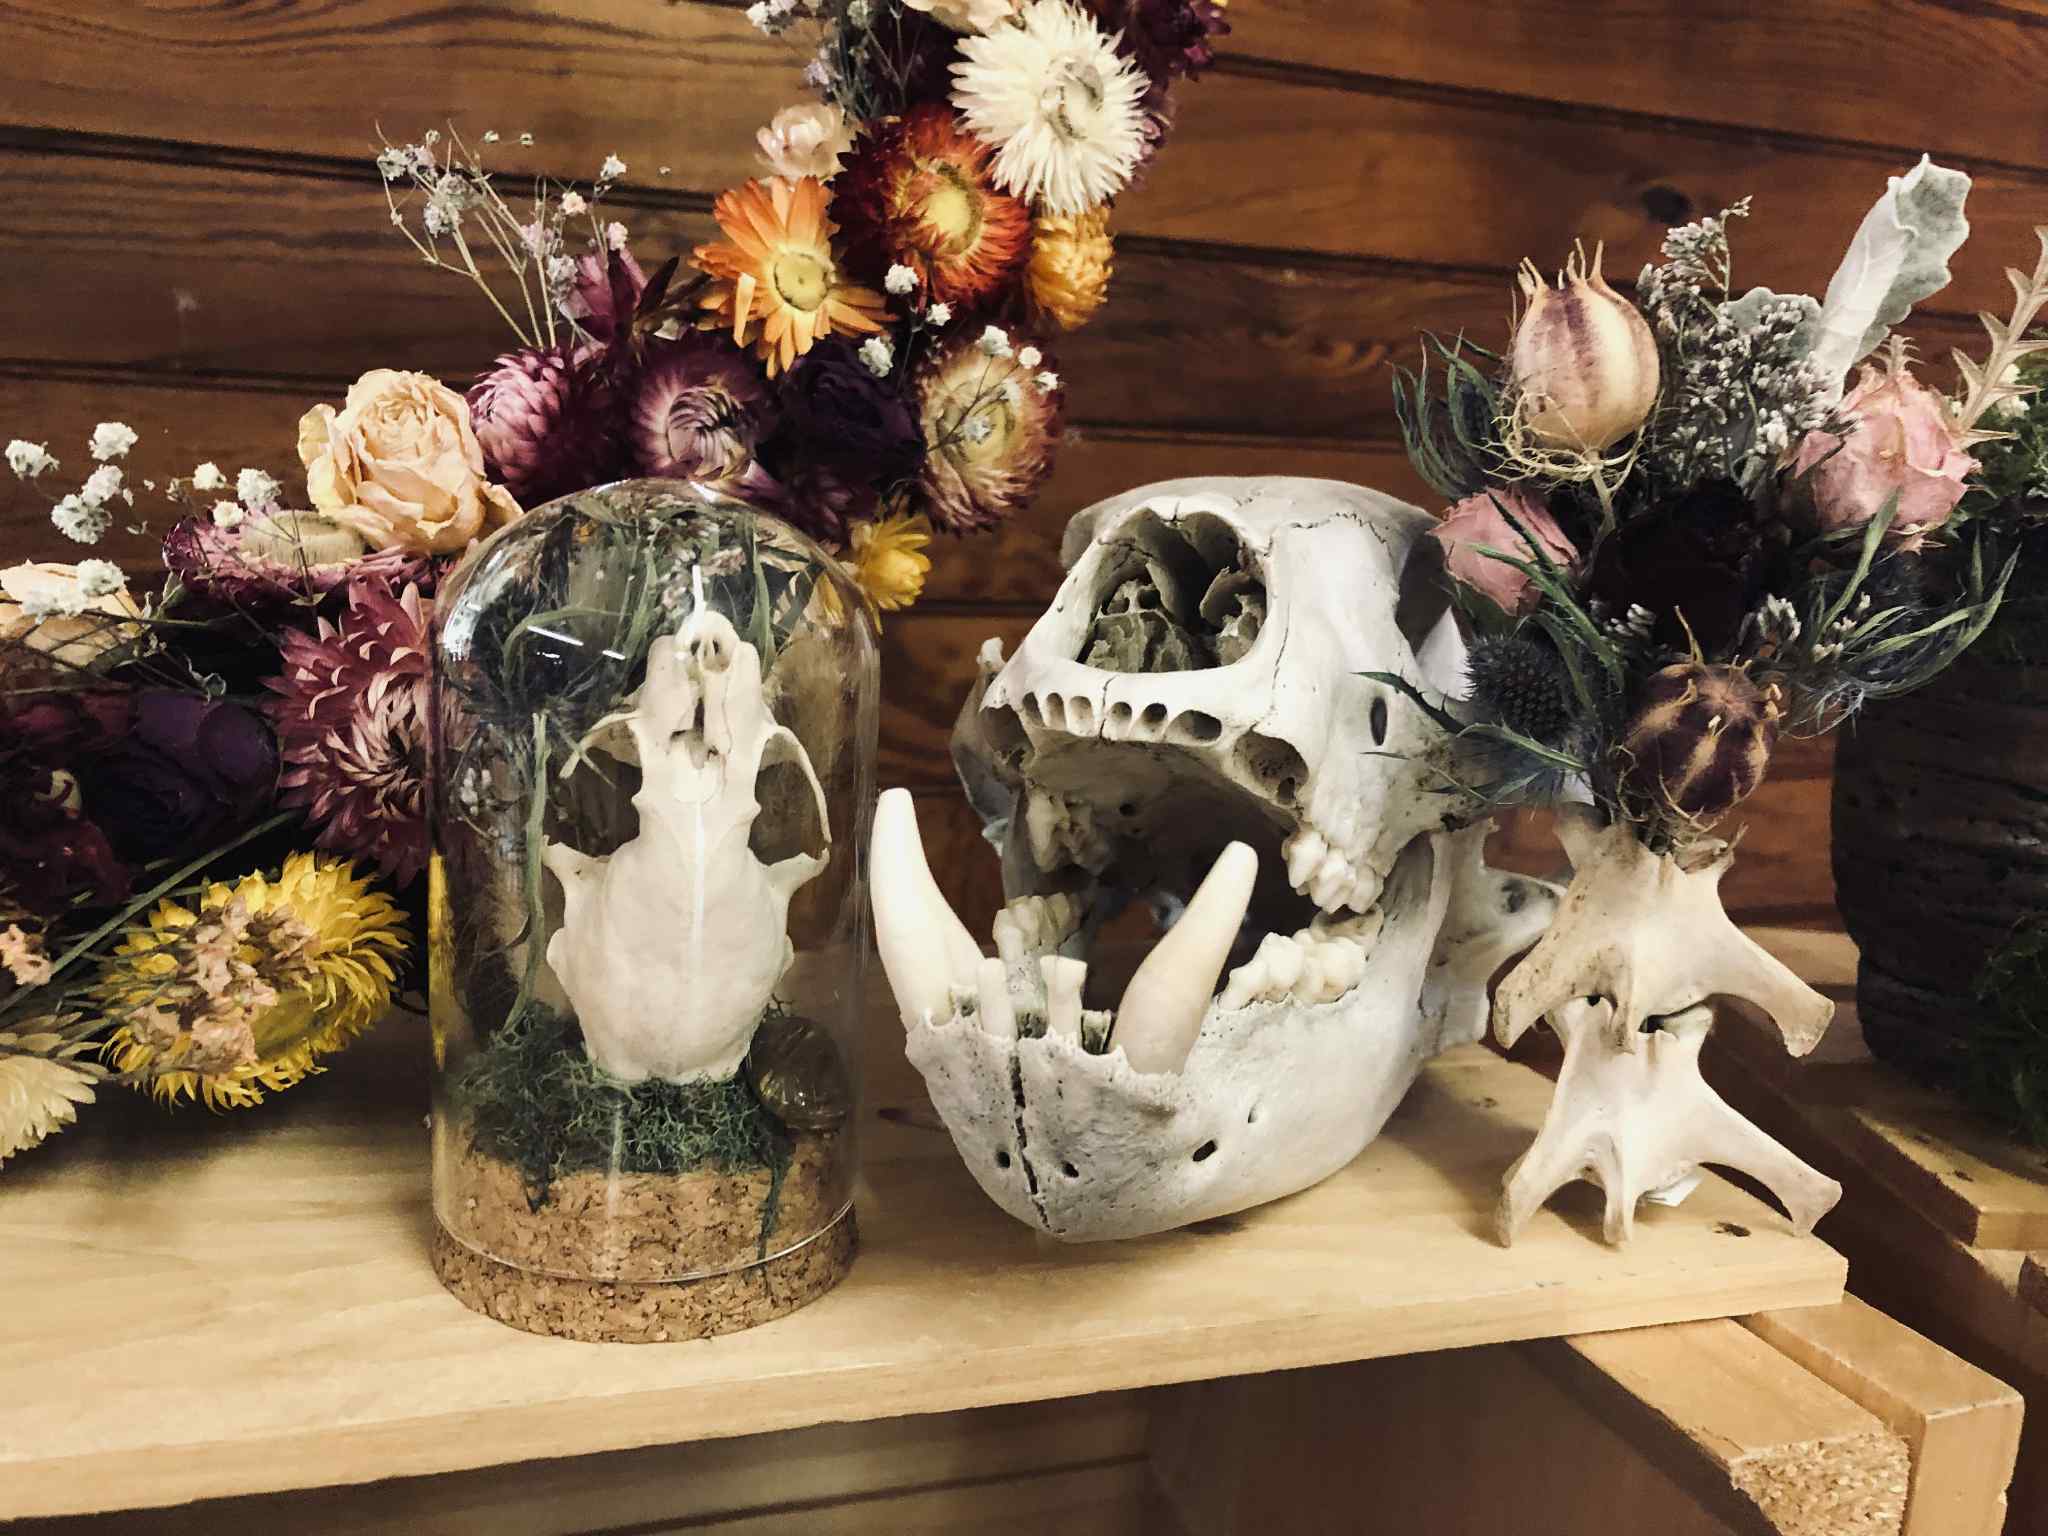
Every piece I create is an act of remembrance, of resurrection. I give the dead new form, not as a means to forget what was lost, but to honor it—to pull something sacred from the shadow. The animal’s body may be gone, but its bones endure, and through my hands, they live again. Not untouched by death, but shaped by it.
-

Giving Life and Purpose After Death
Cleaning bones is a slow, deliberate ritual—one that demands patience and presence. There’s something almost ceremonial in each stage: from the quiet discovery of the dead, to the slow unraveling of flesh through maceration, the lifting of oils in the long soak of degreasing, and the final act of whitening—like a revealing, rather than a transformation.
Every step is essential. Every step teaches. It’s not just a process of preservation, but of witnessing—of tending to what remains with care, with intention, and with a kind of sacred respect for the silence death leaves behind.
-

A Tribute to the Fallen
I honor the spirits of the dead by working alongside fire— an element as ancient and transformative as death itself. By lighting candles to honor the deceased, the fire purifies, reveals, and renews, a silent eulogy in the form of flickering flame. Throughout all of the processes of cleansing and into final birth phase of fauna and flora construction, in the light and heat of the flame flesh falls away, stories are whispered through smoke, and what remains is bone—bare, honest, eternal, new.
While working beside flame, it’s not a symbol of destruction—it’s devotion. A rite. A reckoning. The fire becomes a partner in my work, a witness to the alchemy of grief into creation. Through it, I give the dead not just rest, but legacy—shaping what’s left behind into something that speaks, something that endures.
The Process
BEFORE YOU BEGIN
. Only collect remains from legal and ethical sources. Always follow local laws and avoid disturbing fresh kills or protected species.
. Gloves, masks, and good ventilation are essential. Decomposition involves bacteria, and some steps require harsh chemicals.
. Move slowly. Speak softly. Burn incense, play music, or light candles if it helps you connect to the spirit of the work.
Locate remains. Whether stumbled upon in the wild or gifted to you, treat them as sacred. Take note of the environment—decay stages, insects present, weather exposure. This will guide how you proceed.
Materials
- (nitrile or latex, I like dishwashing gloves because the cover more surface area) — To protect your hands from decay and chemicals and to remove excess flesh if needed
- Buckets (we like plastic totes with and without lids) — For degrease soaking/ maceration, whitening, one for each phase of cleansing
- Dawn dish soap— For degreasing, breaks down oils and fat
- Toothbrush- to scrub flesh off bone during and after maceration
- Small exacto knife-Also helps with removal of softened fleshy bits
- Plastic tote with holes drilled,-For decomposition underground
- (3–12%, or Volume 20–40 hair developer) — Safely whitens and sanitizes bone
- Glass measuring cups— For mixing peroxide and water in accurate ratios
— Avoid metal when using peroxide - White glue or wood glue— For reattaching loose teeth or fragments (dries clear)
- Paper towels or clean rags/cloths— For drying bones
- Sand paper (optional) — For smoothing rough edges if needed
- Soft Cloth — For polishing finished bones
- Incense, candle, or herbs (optional but sacred) — For offering or honoring the spirit
Stripping the Flesh: Methods of Decay
If your specimen still clings to flesh, sinew, or fur, you have entered the true beginning of the work—the part where the veil between what was and what remains is at its thinnest. There are several ways to strip the bodily materials down to bone, and each carries its own weight of time, rot, and revelation.
The Soaking Method — A Swamp of Silence
Submerge the remains in a container—plastic storage totes work well, though they soon become crypts. Fill with lukewarm water and set it somewhere the sun can watch. Then wait. Nature will rise.
Anaerobic bacteria will bloom in darkness and warmth, chewing through the soft tissue in days, weeks, or sometimes longer. The water will turn cloudy, foul, and alive. Do not be surprised if movement stirs within—you are building an ecosystem of rot, a colony of silent workers ushering the flesh back into nothing. Change the water as needed, but do not rush the dead.
This is a slow, fragrant rite. Wear gloves. Stir the Cauldron. Burn incense. Offer thanks.
The Burial Method — Let the Earth Devour It
If the remains are particularly bloated with flesh, consider burial—a controlled surrender to the dirt. Take a large plastic tote and drill holes into its sides and bottom. This allows the crawling earth-dwellers—the beetles, worms, and unseen things—to enter freely and feed.
Dig a hole deep enough to house the container entirely, with the lid just brushing the ground’s surface. This keeps scavengers out but grants you access for periodic communion with the process. In cases of fur-covered or heavily muscled remains, decomposition can take a year or more.
Time is the toll paid to the worms.
The Cage Method — Feast for the Winged and Wild
For those less faint of heart, there is the cage method. Encase the remains in a secure metal cage or netting—tight enough to prevent theft, loose enough to allow beaks, teeth, and talons to work their way in.
Leave it exposed to the elements, and the creatures will come: crows, foxes, insects, and the occasional uninvited guest. This method is visceral and swift, but not without risk. You are inviting nature to dine—and death, when left in the open, tends to attract attention.
Use caution. Use respect.
No matter which path you choose, remember: this is not just cleaning. This is a conversation with decay. You are tending the body as it slips from one form into another, making space for what remains when the living has gone.
Move slowly. The dead deserve nothing less.
Degreasing and Whitening
Bones, especially from mammals, hold grease, as well as we hold onto our own memories, that can cause yellowing and odor over time.
Submerge the bones in a bath of warm water and dish soap—a deceptively simple solution that slowly coaxes the marrow’s last secrets to the surface. The water will grow cloudy, slick with the grease of the flesh long gone. Change it often, especially in the early days, when the bones still bleed their oils like a final, stubborn offering.
This may mean daily tending at first—refreshing the vessel anew as the dead continue to leech their burdens into the murk. Over time, the ritual slows: every few days, then weekly, as the water clears and the bubbles of grease begin to fade.
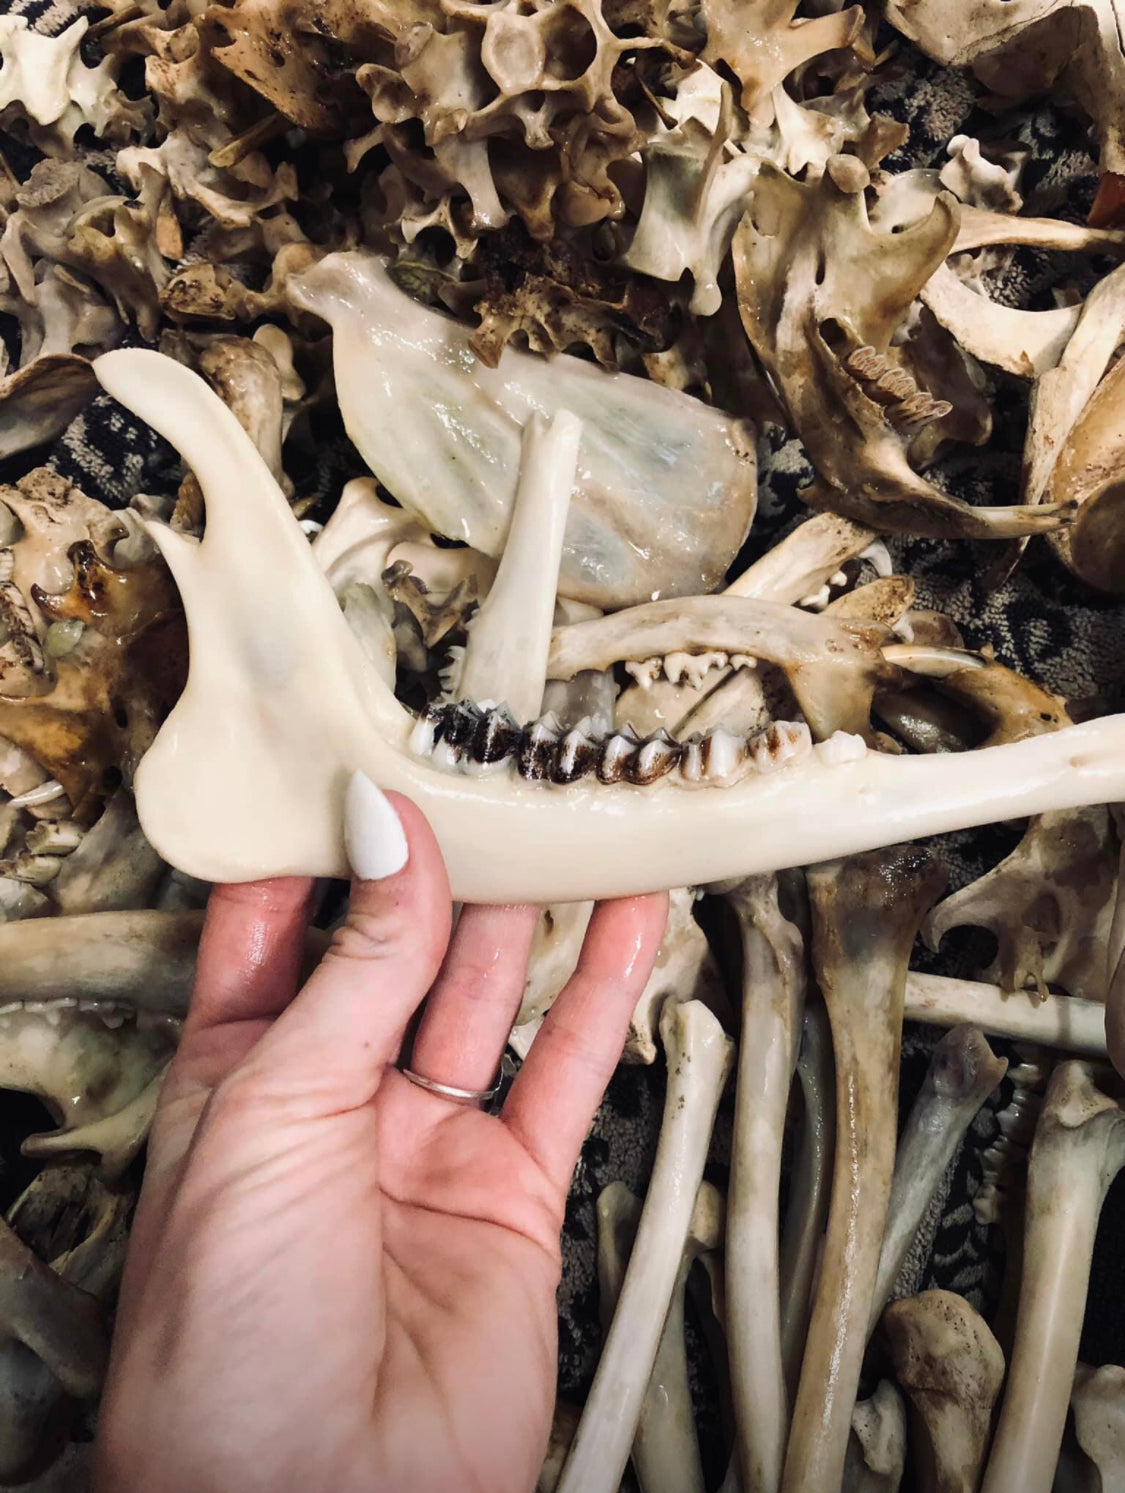
You’ll know the bones are ready to move on when their hue pales, their surface no longer stained with the sickly yellow of decay. Once dry, if they no longer weep oil and their color has softened, you may proceed—
For whitening of bones- NEVER bleach, always hydrogen peroxide.
Gentle, effective, and far kinder to the dead than bleach, which is too cruel for fragile skulls and will eat away at bone like acid through silk.
Hydrogen peroxide can be found in most beauty supply shops, disguised as hair developer. 20 VOL offers a 6% solution—mild, but potent, whereaas 40 VOL. at 12%, is stronger and swifter in its bite.
Stay within the 6–12% range. Gloves and protective eyewear are not just for safety—they're a barrier between you and the quiet alchemy you're about to invoke.
To begin the whitening, place your cleaned, degreased, and thoroughly dried skull into a vessel—something deep enough to cradle it fully (once again, a tote works great). Pour your potion of hydrogen peroxide and water over the remains. A ratio of 1 part peroxide to 3 parts water is ideal. When the mixture begins to bubble and hiss, don’t flinch—that’s the dead being kissed by the cleansing sting of resurrection.
Let the skull rest in its bath until the whiteness pleases you. This may take a few hours or a full day—each skull has its own story, and some are more stubborn in their decay than others.
Once the desired pallor is achieved, remove the skull carefully and rinse it thoroughly with water. Left unchecked, peroxide continues to work its way through bone, erasing more than it should. When the skull is clean, leave it to dry completely—this is not a process to be rushed.
Should any teeth or fragments have loosened during the bath, wait until the remains are bone-dry (har, har) before reassembling. Use wood glue or white glue, both of which dry clear and unobtrusively.
After Thoughts:
Before using the bones in art or ritual, consider a final blessing. Burn herbs, whisper gratitude, or place them under moonlight. This is your moment to acknowledge their transformation. There are those that believe the spirit lingers in the bones. Offer a moment of stillness or other tribute before and after. You are not just cleaning remains—you are participating in a sacred return.


